
Refretting

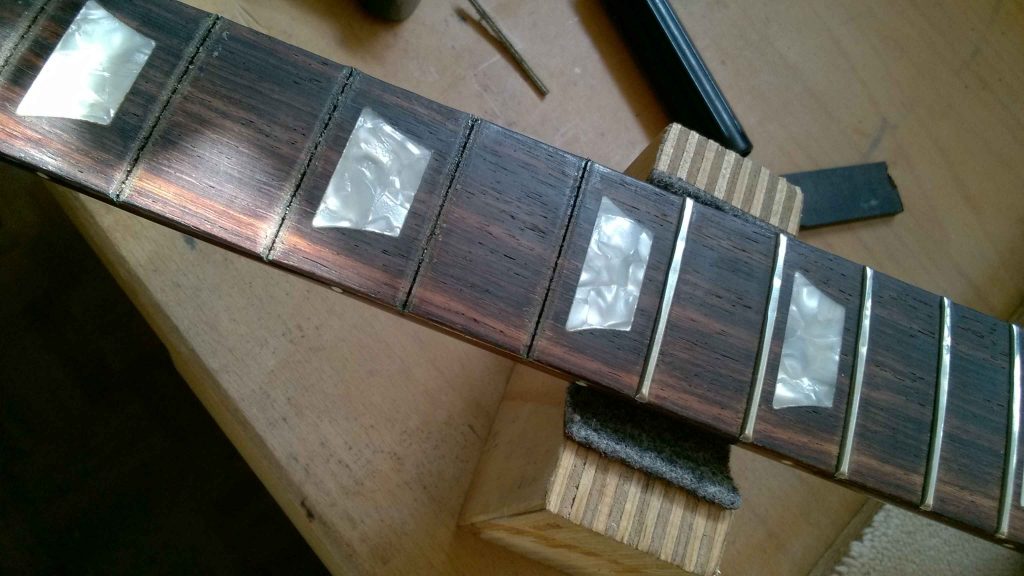
yankingoutthemfrets
This Les Paul Studio was brought to me because of fret buzzing and bad intonation.
The frets were well played and had deep grooves which caused the buzzing. Often, they can be levelled and recrowned to solve that kind of problem.
But on this instrument the frets were to worn and had to be replaced.
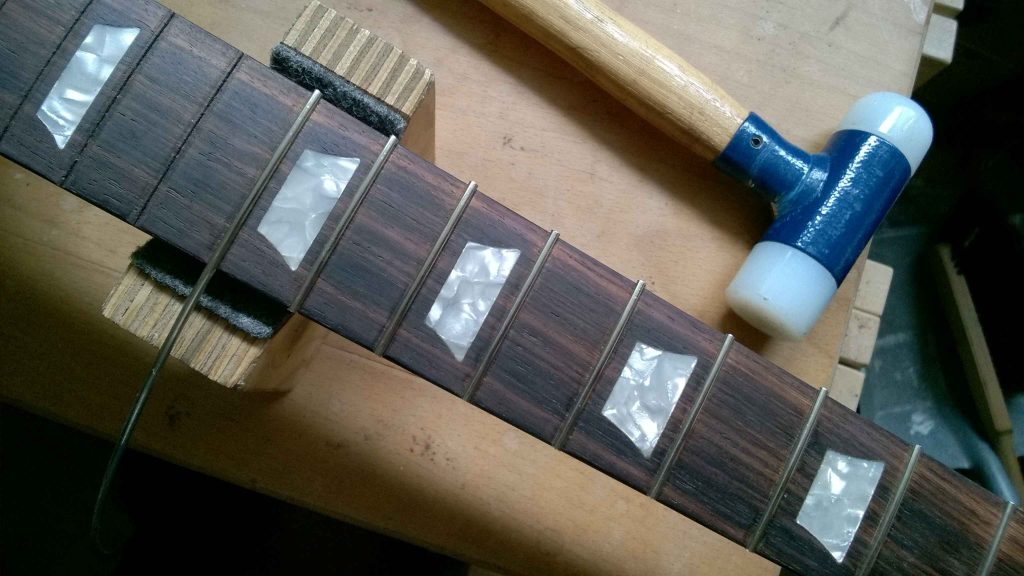
hammeringinnewfrets
I took them out, sanded the fretboard to make sure it’s level and put in new frets. Because the fingerboard wasn’t bound, this was easier than on one with a binding around it.
After putting them in, I filed its ends flush, levelled and recrowned them.
Because they didn’t have the same height than the old frets, an new nut had to be made. The blank, made of unbleached bone, had to be shaped to fit the fingerboard und slots had to be cut.
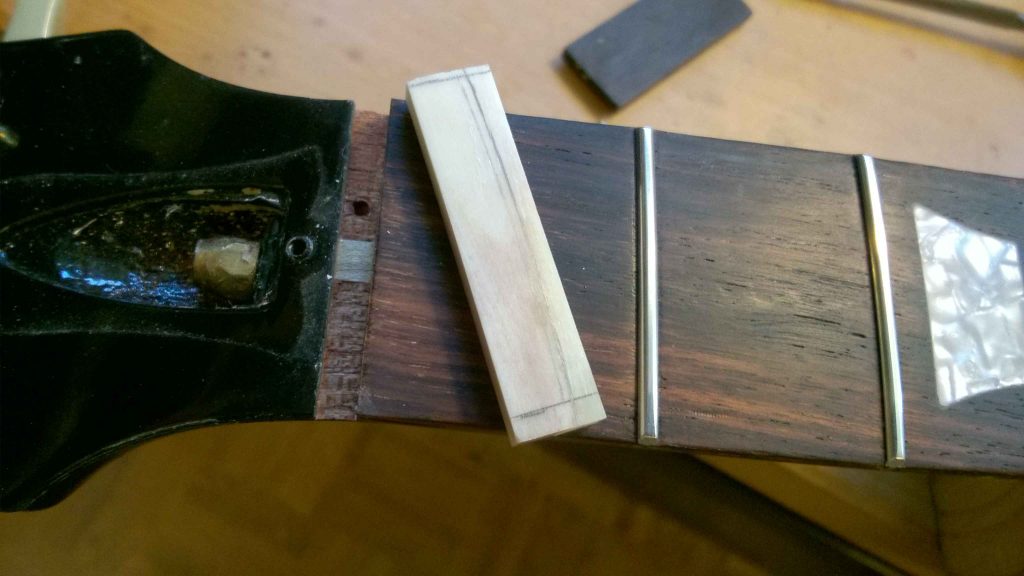
shapingthenutblank
After putting on new strings the slots were filed to their correct depths.
Now it can be played again without buzzing nor notes that are slightly off key.

newlyfrettedfingerboard

Finishing the Singlecut

The top is dyed and the first clear coats of finish are sprayed on
Because its top will be sunburst I dyed the maple top. After that the first coats of finish were sprayed on.

After spraying on a few coats of finish, the final colour is put on the control covers and the back
Then the top was masked and the back of the guitar was coloured. The photo shows the wooden control and tremolo covers. If you want to see what they looked like before, go back to the top. They are in the bottom right hand corner.

The top got its final sunburst finish
Finally I sprayed the sunburst on the top. After that the instrument was sprayed with clear coats of finish. Between spraying the coats have to be sanded which is why the headstock looks kind of misty.
Now it only takes a couple of coats and the instrument is ready for its hardware and pickups!

Merken